I found myself torn between projects I could start after finishing the A320, going so far as to post a picture of my kit stash on Facebook for suggestions of what to tackle next. I’ve got a bunch of the amazing Star Wars kits that Bandai’s been releasing for the past couple of years but nothing was calling to me. I started considering the Polar Lights Delorean Time Machine, but as I began looking into it, I found that there were so many little details that I’d want to get as correct as I could that I needed to put that on the backburner for awhile and do plenty of research in the meantime. So I came back to my small stack of airliner models and picked another Zvezda kit, this time Boeing’s huge 777-300ER. In short, my brain is in airliner-mode and I’ve already done a bunch of research and photo gathering.
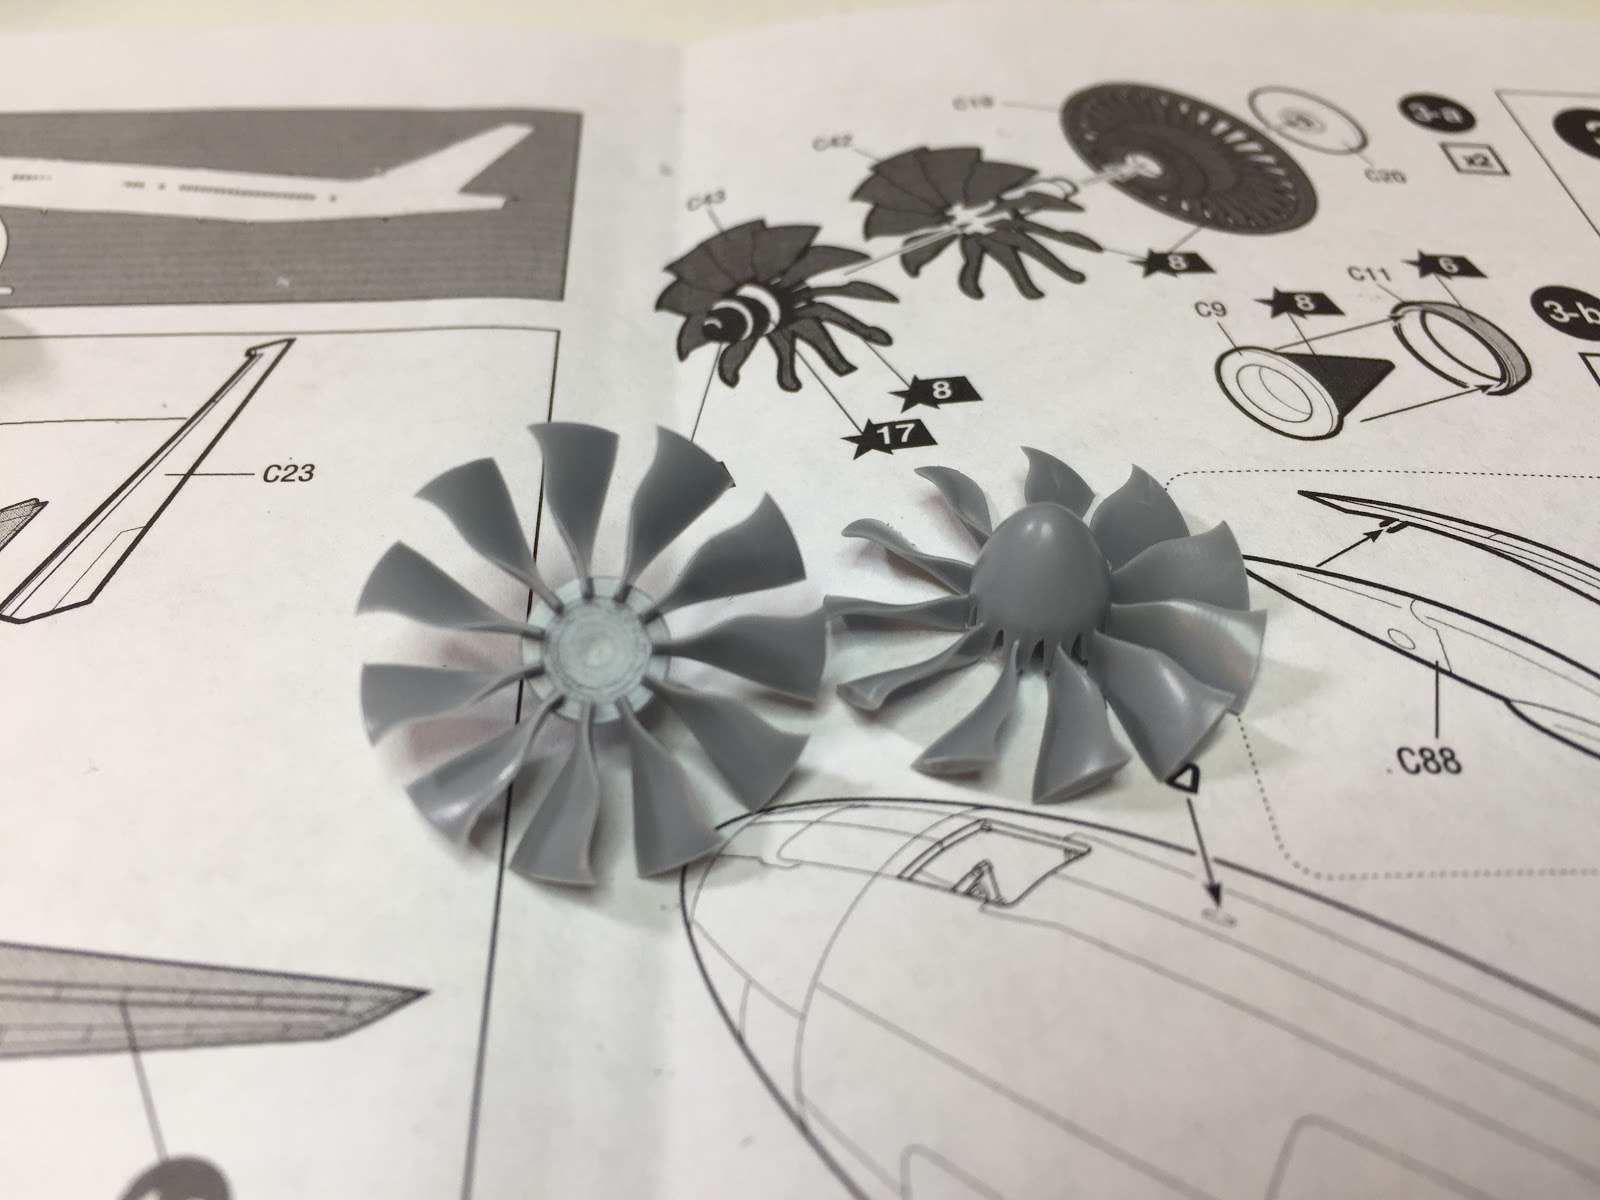
 This is quite a bit more simple than the A320. Even though it’s about 5 times the size of the A320, it’s a pretty basic kit – no flap or door options here. But it’s beautifully crafted with a lot of fine detail all over. A great example of that is found in the twin engines. The fan blades are two separate discs that slot into each other, allowing a lot more detail than would normally be allowed.
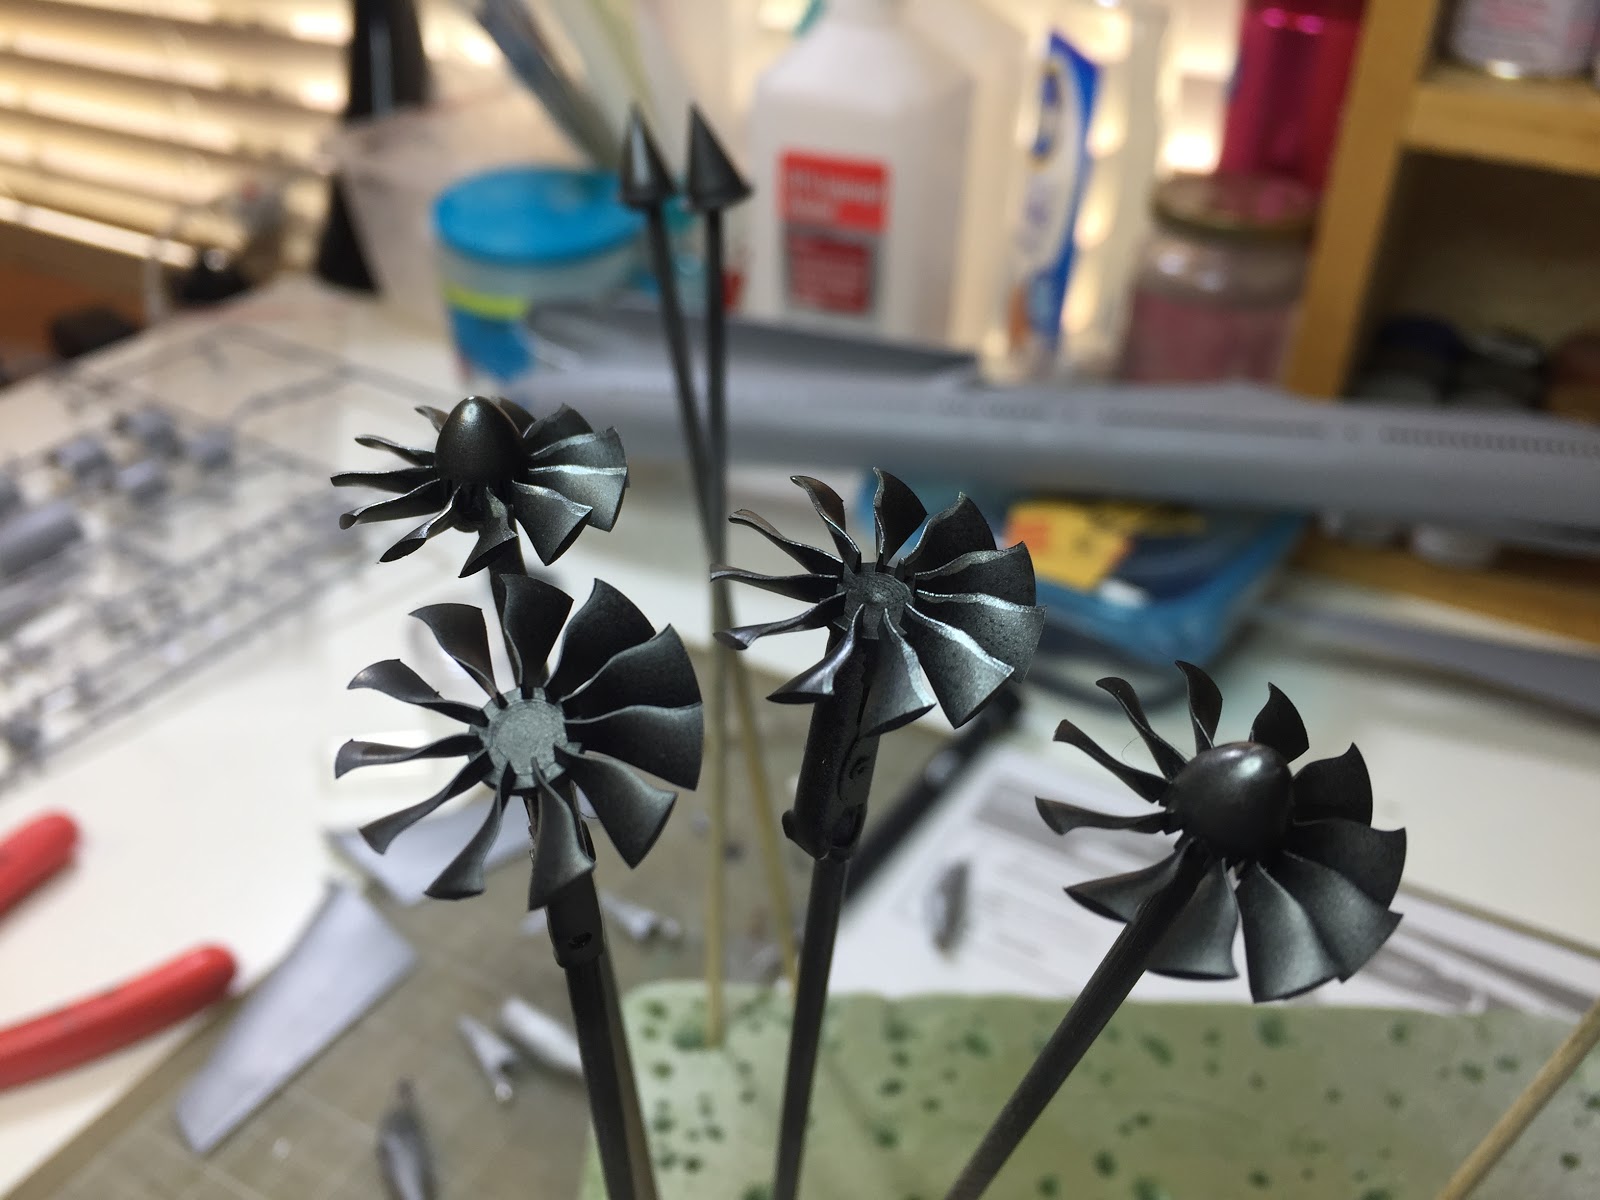
I painted these up with Model Master Metalizer gunmetal grey, buffing the central “hub” of the fan to make it glossy and stand out, then lined each blade with a thin strip of steel.


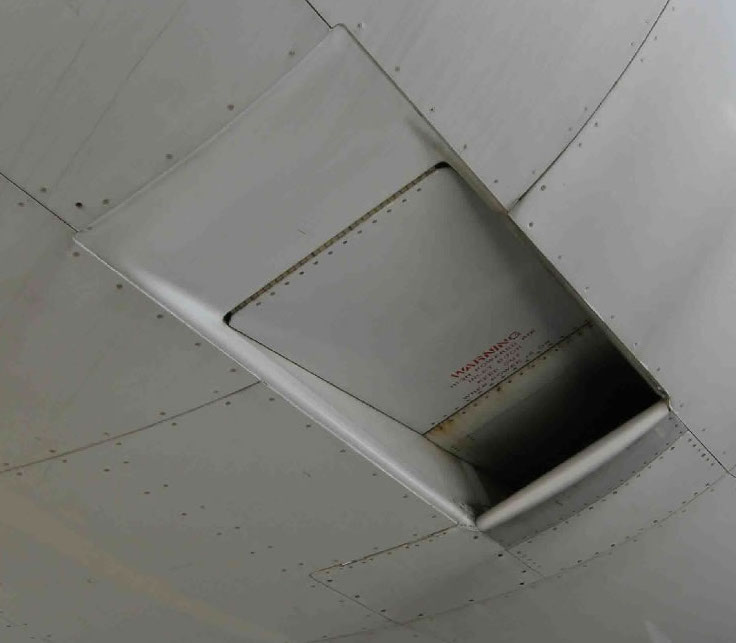
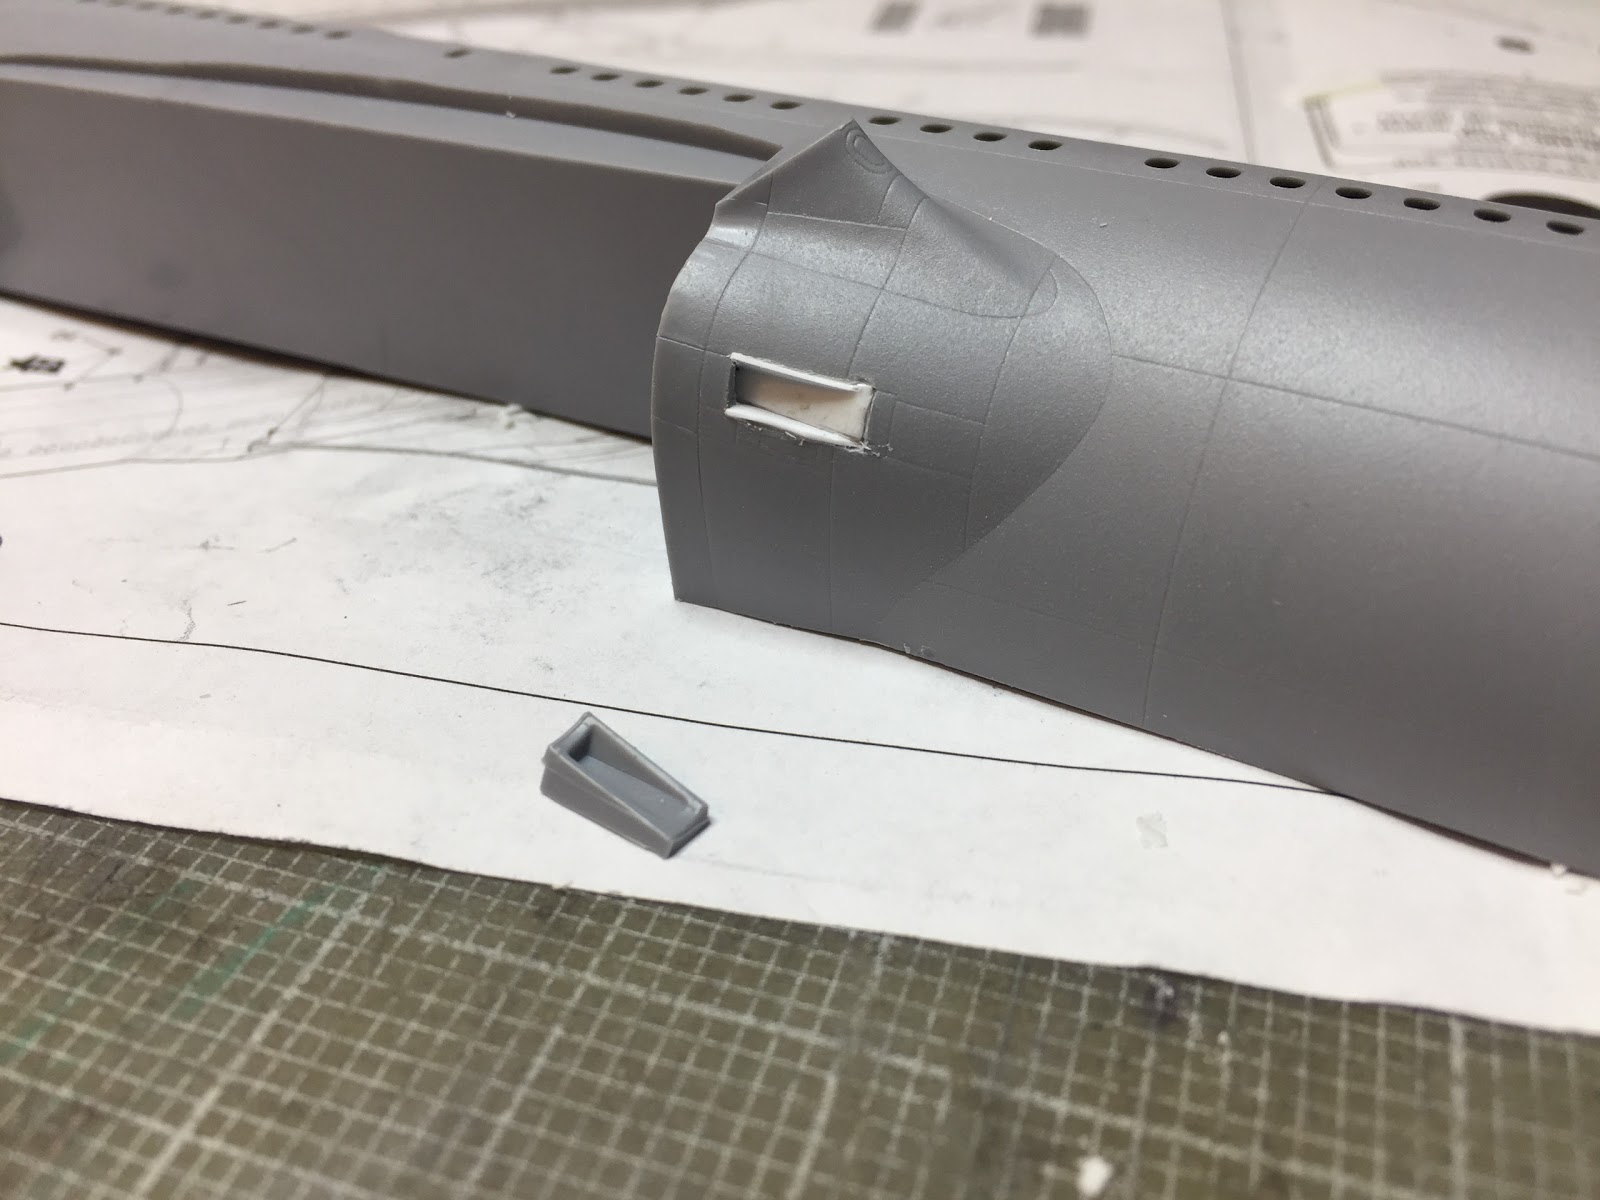
If there’s one weak spot so far, it’s these vents (?) that open into the gear bay area, just in front of the wings. The fuselage is molded with an opening and an accompanying part to fit into it, but that part is crap and doesn’t fit very well.